
How-to
Your First 30 Minutes in Sparks Provider: What to Set Up Before Anything Else
A practical order of operations for getting started in Sparks Provider, from your first sign-in to your first approved roster week.

Kim MatthewsFounder and disability support provider
The first time you open Sparks Provider, the question is not what the software can do. It is what to click first. Here is the order that saves you backtracking later.
Picture a fictional, anonymous example: a two-person support service, one owner and one part-time coordinator, moving off a paper diary and a shared spreadsheet. They have a 7-day trial open in one tab and six support workers waiting to be invited. The temptation is to add everyone and everything at once. A better first session looks like this.
1. Sign in and check the trial is actually running
Go to app.sparksprovider.app and sign in with your email and password. No card is needed for the 7-day free trial. This step sounds obvious, but it is worth confirming you are in the right account before you start adding real staff and real participant details, especially if more than one person at your business created a login.
2. Turn on two-step sign-in before you add anyone else
Go to Business, then Sign-in and security, then Two-step sign-in. Your account can see every client and every staff record in the business, so this is the one setting worth turning on before you invite a single worker. If you have two-step sign-in already active, check your email for the six-digit code. It is valid for a few minutes. If it does not arrive, check junk mail first. Asking for a second code cancels the first one, so a second request only helps if the first one is genuinely lost.
3. Add your business name, ABN and address
Go to Business, then Details. This information appears on the things you send out, service agreements, rosters and invoices, so it is worth getting right in the first session rather than fixing it later across documents you have already shared.
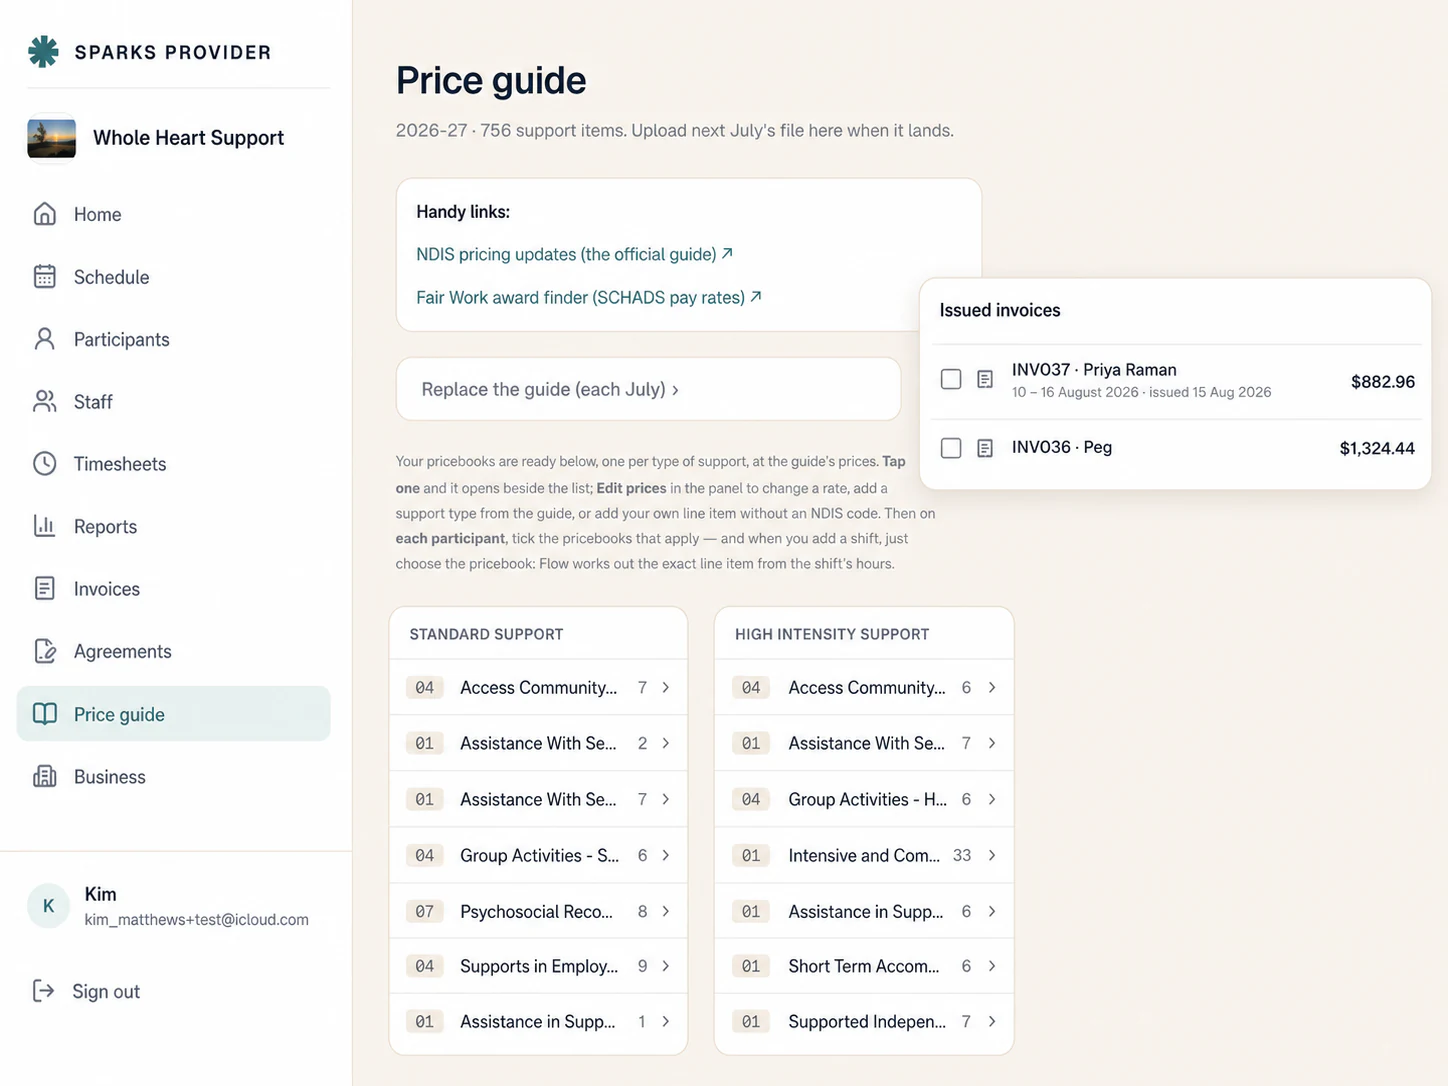
4. Set up your price book before you invite staff or add participants
Each business has its own price book based on current NDIS support items, and you control which items you use. Doing this before you start rostering means approved hours already have somewhere sensible to land when they turn into invoices.
5. Invite your staff
Staff are invited to their own account where they see their own shifts and the client details relevant to those shifts, record availability, add shift notes or incident reports, and submit their hours. Inviting them after the business basics are set means they land in an account that already looks and works the way you want.
6. Add your first participant and agreement
Keep participant details, documents and the service agreement together. Agreements can be sent for electronic signing, and the signed record stays attached to the participant file. This is a good moment to add one real participant rather than a batch, so you can see the whole flow before committing more records.
7. Build one real roster week
Plan shifts for that first participant and worker, including anything unusual your business actually runs, such as 2:1 supports, group sessions or public holiday shifts. A single real week tells you more than a demo ever will.
8. Approve hours before anything goes further
Owners and admins review the week and approve hours before invoicing or sending timesheets onward. Approved work is priced from your price book into invoices, and approved timesheets can be sent to Xero payroll as draft timesheets for checking. Sparks Provider does not calculate wages or interpret awards, so this step is about confirming the hours, not setting pay.
By the end of that first session, the fictional two-person service in our example has a secured account, correct business details, a working price book, one invited worker, one real participant and one approved week. That is a solid foundation to add the rest of the team and client list onto, at whatever pace suits the business.
If you prefer to watch rather than read, the official how-to videos walk through the same setup steps on screen.
Common questions
The details people ask next.
Do I need a credit card to start the trial?
No. The 7-day free trial does not require a card.
What if my two-step sign-in code never arrives?
Check your junk or spam folder first. Requesting a new code cancels the previous one, so only ask again if you are sure the first email is not coming.
Can I do all of this from my phone instead of a laptop?
Yes. Sparks Provider works in a browser on a laptop, tablet or phone, and the official apps are available on Google Play and the App Store for signed-in users.
Should every staff member turn on two-step sign-in, or just the owner?
It is most important for anyone whose account can see every client and worker record, typically the owner or an admin. Staff accounts only see their own shifts and relevant client details.
Can I bring across records from a previous system during setup?
There is a built-in ShiftCare import that brings across participants, staff invitations and shift history. Re-importing the same file does not duplicate people.
This article is general information about provider operations and Sparks Provider. It is not legal, financial, employment, NDIS or compliance advice. Check current requirements with the relevant authority or an adviser for your business.